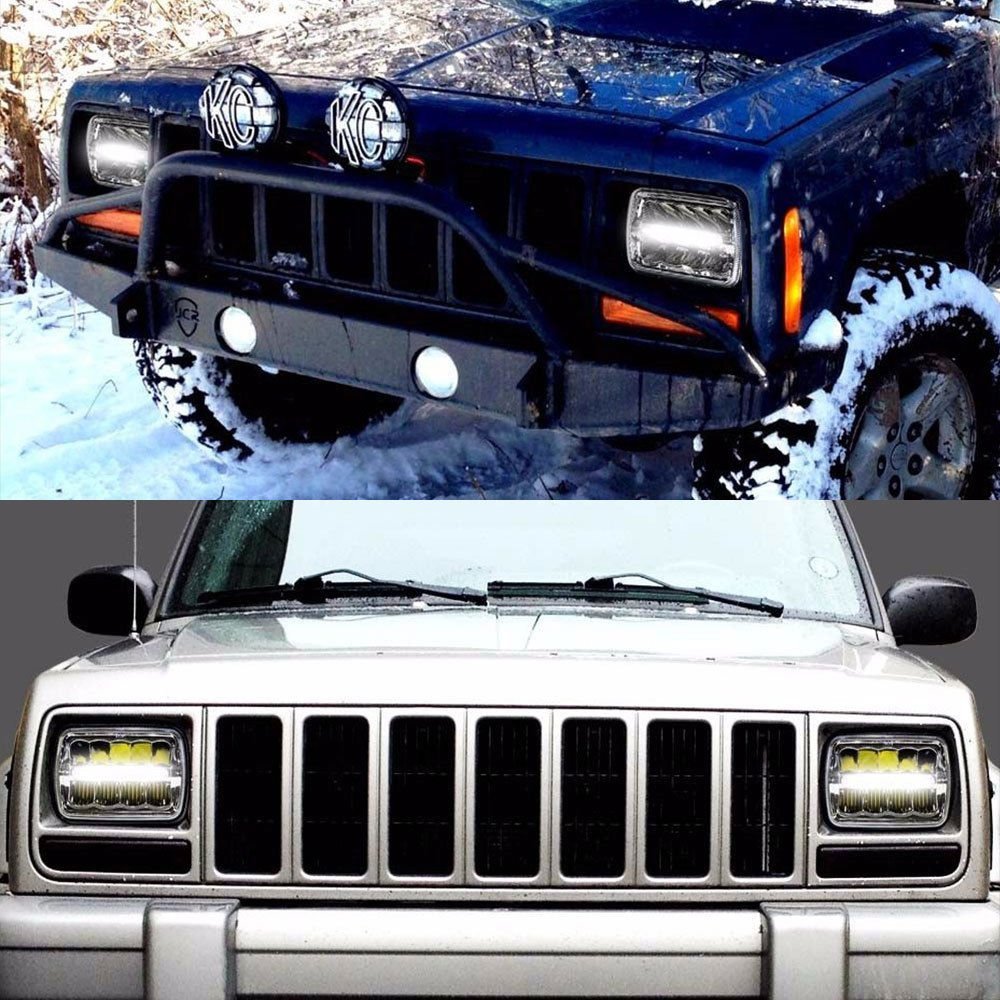
Upgrading the headlights on your Jeep XJ can significantly improve nighttime visibility and give your vehicle a modern look. This guide will walk you through the process of installing a headlight conversion kit on your Jeep XJ, ensuring a seamless and efficient upgrade.
Tools and Materials Needed
- Headlight conversion kit (compatible with Jeep XJ)
- Screwdriver set (Phillips and flat-head)
- Socket set
- Electrical tape
- Wire connectors (if needed)
- Gloves (optional)
- Clean cloth or towel
Step-by-Step Installation Guide
1. Preparation
- Park Safely: Park your Jeep XJ on a flat surface and ensure the engine is turned off. Engage the parking brake for added safety.
- Open the Hood: Open the hood and prop it up securely to access the headlight assemblies.
2. Remove the Old Headlights
- Locate the Headlight Assembly: Identify the location of the headlight assemblies. They are situated at the front of the vehicle, directly in front of the engine compartment.
- Remove the Headlight Bezel: Use a Phillips screwdriver to remove the screws securing the headlight bezel (the trim piece around the headlight). Carefully set the bezel aside.
- Unscrew the Headlight Retaining Ring: Remove the screws holding the headlight retaining ring in place using a Phillips screwdriver. Set the retaining ring aside.
- Disconnect the Headlight Wiring: Gently pull the headlight forward and disconnect the wiring harness from the back of the headlight. This may require pressing a tab or releasing a clip.
- Remove the Old Headlight: Once the wiring is disconnected, remove the old headlight from the assembly.
3. Install the New Headlights
- Prepare the New Headlights: Unbox your new Jeep Cherokee XJ headlight conversion kit. Ensure all components are present and in good condition.
- Connect the New Headlights: Connect the new headlight to the existing wiring harness. Ensure a secure and proper connection. If the kit includes additional wiring or adapters, follow the manufacturer’s instructions to connect them correctly.
- Install the New Headlight: Position the new headlight into the headlight assembly. Align it properly to ensure a secure fit.
- Secure the Headlight with the Retaining Ring: Reinstall the headlight retaining ring and tighten the screws to hold the new headlight in place.
- Reattach the Headlight Bezel: Reinstall the headlight bezel by securing it with the screws you previously removed.
4. Test the New Headlights
- Check Alignment: Turn on your vehicle’s headlights to ensure the new lights are functioning correctly. Check both low and high beams.
- Adjust if Necessary: If the headlights are misaligned, adjust them using the adjustment screws on the headlight assembly. Proper alignment ensures optimal visibility and reduces glare for other drivers.
5. Final Steps
- Clean Up: Dispose of the old headlights properly. Clean any fingerprints or smudges from the new headlights using a clean cloth.
- Close the Hood: Close the hood of your Jeep XJ securely.
Installing a headlight conversion kit on your Jeep XJ is a practical and rewarding upgrade. With improved visibility and modern aesthetics, your Jeep will be better equipped for nighttime driving and off-road adventures. By following this guide, you can confidently replace your old headlights with new, high-performance ones, enhancing both safety and style.